

How to Prevent Cycling Saddle Pain: 8 Proven Tips
How to Prevent Cycling Saddle Pain: 8 Proven Tips
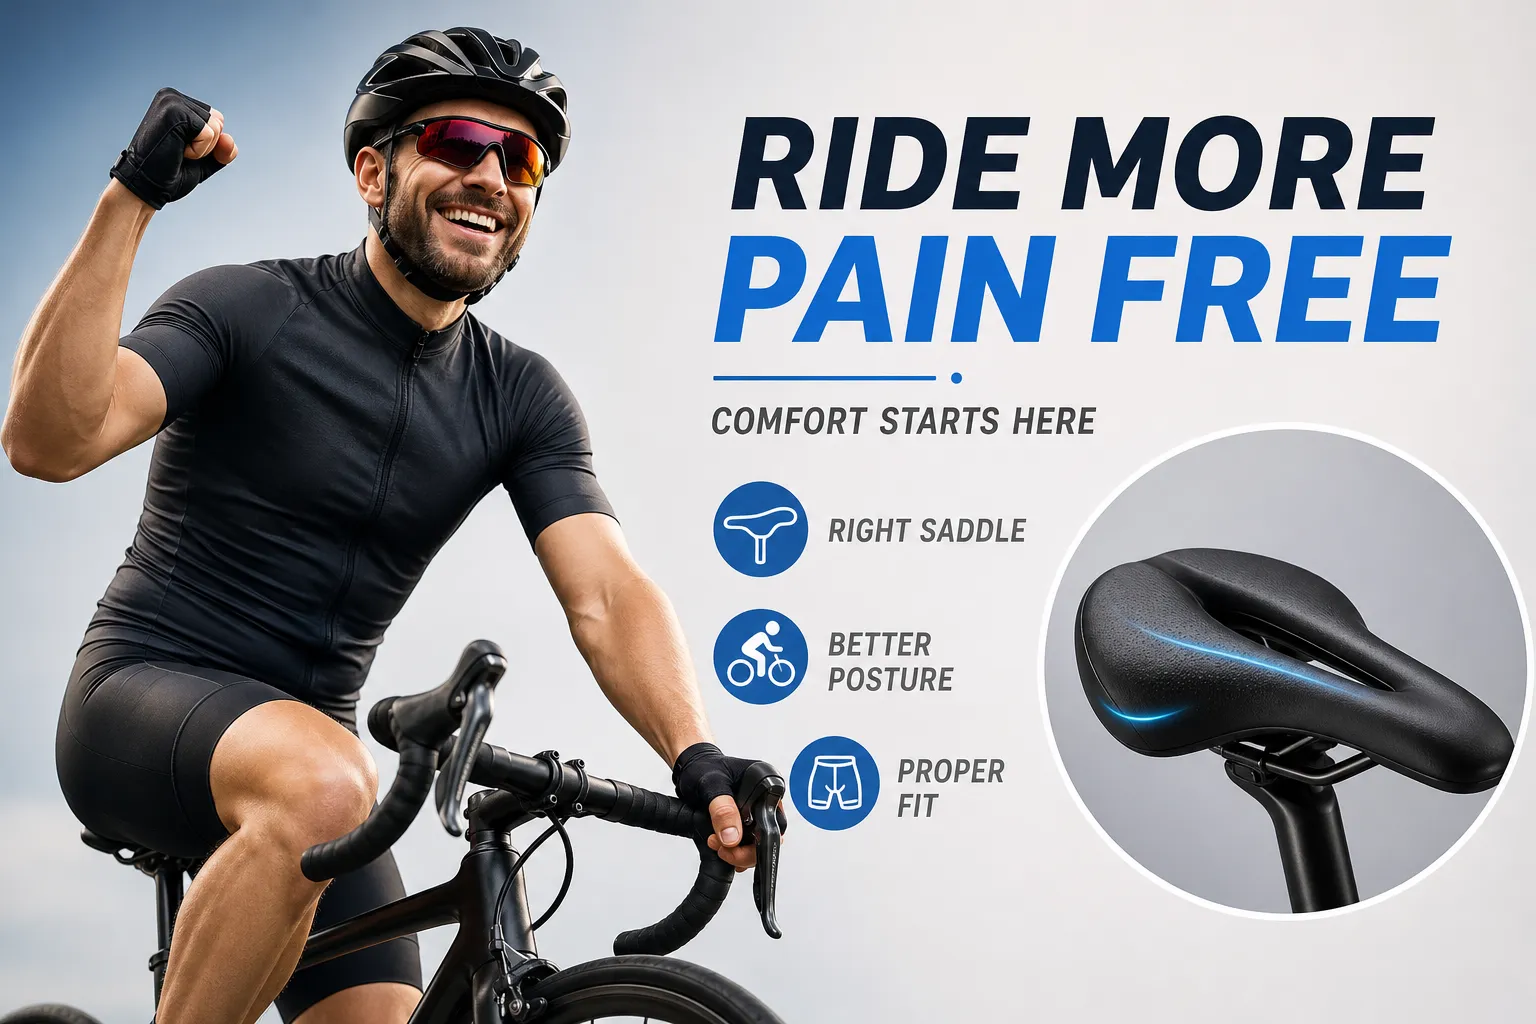
Many cyclists report saddle pain as a leading barrier to riding, and the numbers bear that out. Published studies of female cyclists and heterogeneous rider populations put the prevalence of saddle discomfort and sores anywhere from 39% to nearly 90%, depending on the population studied and how symptoms are measured. That is a staggering range. It also points to an encouraging reality: many of these cases are preventable or modifiable by addressing fit, saddle choice, clothing, and hygiene. Knowing how to prevent saddle pain cycling comes down to working through the right fixes in the right order.
Dr. Patrick O'Shea, a Doctor of Chiropractic and competitive cyclist who founded Zeta Saddles, approaches this problem from a biomechanical lens rather than a comfort-marketing one. His position is straightforward: saddle pain almost always has a diagnosable cause, and that cause responds to a specific fix. The tips below are organized around that logic.
Work through these eight adjustments in the order they appear, position first, then equipment, then habits. Many riders who follow this sequence report significant improvement or full relief without needing anything else.
How to Prevent Saddle Pain Cycling: Fix Your Position Before Anything Else
Bike position is the highest-leverage fix most riders never actually make. A saddle that sits even a few millimeters too high, or tilts a few degrees in the wrong direction, shifts your weight off the sit bones and onto the perineum and inner thighs. That concentrated soft-tissue pressure causes both pain and repetitive friction at every pedal stroke.
Tip 1: Get saddle height into the right range
Start with the LeMond formula as your baseline: multiply your inseam (in millimeters, measured barefoot) by 0.883. That gives you the distance from the center of the bottom bracket to the top of the saddle, a useful starting estimate that should be refined with a dynamic fitting assessment. From there, fine-tune so your knee reaches approximately 25 to 35 degrees of flexion at the bottom of the pedal stroke, which corresponds to a knee angle of roughly 140 to 150 degrees.
A saddle set too high causes your hips to rock from side to side with each pedal stroke. That rocking generates friction between your skin and the chamois, which is a direct cause of chafing and saddle sores. Too low, and you compress the perineum more aggressively throughout the stroke. Adjust in 2 to 3 millimeter increments and test each change over two to four rides before making another move. Patience here pays off.
Tip 2: Dial in tilt and fore/aft with small, deliberate steps
Start with your saddle level at 0 degrees of tilt. If you still feel perineal pressure after getting height right, try a 1 to 2 degree nose-down adjustment. Some fitting protocols allow up to 3 degrees, but go beyond that and you will slide forward onto the narrow nose of the saddle, loading your hands and creating a different set of problems.
For fore/aft position, begin with your knee approximately over the pedal spindle when the crank is at the three o'clock position. Move the saddle in 5 millimeter increments from that neutral point. Most saddle rails give you 30 to 50 millimeters of total travel, but you rarely need more than 10 millimeters of adjustment from center. Always set height first, then fore/aft, then tilt. Changing all three at once makes it impossible to know which adjustment actually helped.
2. Match Your Saddle to Your Anatomy, Not Just Your Budget
Once your position is dialed, the saddle itself either solves the problem or keeps it alive. The two variables that matter most are width and design. Width determines whether the saddle supports your sit bones or your soft tissue. Design determines how pressure is distributed across the contact zone. Most riders underinvest in understanding both.
Tip 3: Measure your sit bones before buying any saddle, a key step in bike saddle fit
Your sit bones (ischial tuberosities) are the bony contact points that should carry most of your seated weight on a bike. A saddle narrower than your sit-bone spacing forces those bones to hang off the edges, concentrating load on perineal soft tissue instead. That is a structural problem no amount of chamois cream fixes.
The general shop-fitting rule of thumb for road riding: your saddle width should be approximately your sit-bone spacing plus 20 to 25 millimeters. Going too wide creates its own problem: the inner edges of the saddle rub against your inner thighs during pedaling, increasing friction and heat. Many bike shops offer free sit-bone measurement using a foam mat or gel pad. It takes two minutes and immediately narrows your saddle search.
Tip 4: Understand what saddle design actually does to pressure
Pressure-mapping research is unambiguous about one category of saddle. In controlled studies, no-nose saddles reduced perineal pressure by 49 to 56% compared to conventional narrow-nose designs, with some reviews reporting up to a 71% reduction in anterior pressure. That is a clinically significant difference, not a marginal one.
Central cutouts are more complicated. One review found an average 63% reduction in perineal pressure with a cutout saddle, but a separate study of female cyclists found that cutout saddles produced approximately 4 kPa higher mean perineal pressure and 11 kPa higher peak pressure than traditional saddles. The cutout edges can create lateral pressure spikes on some riders. Note that a cutout is not a guaranteed fix for saddle pressure relief; pressure mapping is the most reliable way to confirm whether a cutout design is actually helping you. Zeta Saddles' multiple width options, from 130 to 165 millimeters, and the doctor-designed geometry behind each model are built around exactly this pressure-mapping logic.
3. Wear the Right Shorts and Use Chamois Cream Strategically
The interface between your body and the saddle is not just the saddle itself. Your chamois is equally part of the system, and poor shorts or misapplied lubricants account for a large share of the chafing and sores that cyclists incorrectly blame on their saddle.
Tip 5: Choose bib shorts with the right chamois thickness for your ride length
Chamois thickness is not a case of more equals better. For faster endurance rides where low bulk matters, 6 to 9 millimeters works well. For most road rides in the 2 to 6 hour range, a multi-density chamois in the 9 to 14 millimeter range gives you the best combination of support and breathability. For all-day touring and bikepacking on rough surfaces, 10 to 15 millimeters provides the sustained cushioning you need without breaking down midway through.
Bib shorts are worth the premium on long rides. The shoulder straps prevent the waistband from rolling and the chamois from shifting, both of which are major sources of hotspot friction over time. Fit rules are non-negotiable: chamois directly on skin, no underwear underneath, and snug leg bands that do not bunch at the inner thigh.
Tip 6: Apply chamois cream correctly and skip the ingredients that cause problems
Chamois cream is a lubricant. Its job is to reduce friction between skin and chamois, not to prevent infection or heal existing sores. Apply a thin layer to friction-prone areas before riding, and do not treat a painful open sore with cream; that is not what it is designed for.
The ingredient list matters more than most riders realize. Avoid anything containing fragrance, essential oils (tea tree, peppermint, eucalyptus, lavender), menthol, camphor, alcohol, or witch hazel. All of these irritate sensitive perineal skin, and some cause allergic contact dermatitis that looks exactly like a saddle sore. Choose a fragrance-free, bland formula with a short ingredient list. If a product causes burning or a rash, stop using it immediately rather than trying to push through the reaction.
4. How You Build Mileage and Care for Your Skin Matters Just as Much
Even a perfect position and ideal equipment cannot prevent saddle pain if you jump your volume too fast or skip basic post-ride hygiene. These two factors are the most consistently overlooked prevention levers.
Tip 7: Ramp up riding time in controlled steps, not big jumps
Long riding duration is the most consistently reported risk factor for saddle sores across the research literature. Skin adapts to sustained pressure and friction over weeks, not days. The 10 to 15% weekly mileage increase guideline, widely used in load-management practice, though specific trial evidence for saddle sore prevention remains limited, gives your tissue time to condition to the demands of riding without accumulating damage faster than it can recover.
One often-missed detail: indoor trainer sessions can accelerate skin stress compared to outdoor riding. On a trainer, you move less on the saddle and your position remains more static, which concentrates load on the same contact points continuously. If you are building fitness indoors during off-season, account for that in your progression and pay close attention to how your skin responds.
Tip 8: Protect your skin with consistent post-ride habits
Shower promptly after every ride and change out of your cycling shorts immediately; wash the affected area gently with mild cleanser and lukewarm water, then pat dry, do not scrub. For minor redness or early irritation, a thin layer of plain petrolatum or zinc oxide supports the skin barrier while it recovers. These are not complicated steps, but skipping them consistently is how minor friction becomes a deep tissue sore.
Know when to stop riding and seek medical care. Increasing swelling, pus, fever, a lump that does not resolve, or pain that does not improve after several days off the bike all warrant evaluation. Recurrent deep nodules may indicate something beyond a simple saddle sore, and treating them as chafing delays proper care.
5. Why the Right Saddle Technology Prevents Pain at the Source
Position tweaks and chamois upgrades are the correct starting point, and most riders should work through those first. But if a conventional foam saddle is the underlying issue, no amount of cream or height adjustment fully compensates for the support that foam stops delivering during multi-hour rides.
Why foam saddles fail over long rides
Foam compresses under sustained load and stays compressed. The physics are straightforward: foam cells collapse, the material loses thickness, and the rider progressively settles closer to the rigid shell beneath the pad. Research on foam compression and creep suggests this loss of support can begin during extended efforts, meaning the saddle that felt fine for 45 minutes may become the problem at mile 40 of a century. At that point, sit-bone pressure spikes and perineal numbness can set in regardless of how well the saddle was fitted at the start of the ride.
What Reactive Padding™ does differently and why it was designed that way
Dr. O'Shea developed Zeta Saddles' patented Reactive Padding™ system specifically because foam does not address the biomechanical root cause of saddle pain. The system uses layered elastomers arranged in a 7-piece dynamic structure that redistributes sit-bone and perineal pressure in real time rather than compressing flat under sustained load. Unlike foam, which loses resilience as it collapses, the elastomers recover between load cycles and maintain consistent support across multi-hour efforts.
Zeta Saddles' pressure-mapping evaluations, conducted using gebioMized 64-sensor pressure mat technology that maps force distribution across anatomical zones while the rider pedals, have demonstrated favorable sit-bone and perineal pressure outcomes across a range of rider profiles. The 30-day money-back guarantee means you can test this on your actual rides, on your actual bike, without financial risk.
Start Stacking the Right Fixes in the Right Order
Learning how to prevent saddle pain cycling is not about finding one magic product. It is about addressing the actual causes in a logical sequence: position first, then saddle geometry and width, then apparel and lubrication, then mileage habits and skin care. Riders who work through that sequence systematically eliminate the vast majority of saddle pain without needing anything more complicated.
For riders who have addressed all of those variables and still hurt on long rides, the saddle material itself is likely the remaining factor. Foam saddles have a mechanical ceiling, and no fit adjustment changes what happens when foam loses its support under load. Reactive Padding™ was engineered for exactly that situation, with an elastomer-based design built to maintain consistent pressure distribution where foam cannot.
If you are ready to take the next step, explore Zeta Saddles' saddle models, find the width matched to your sit-bone measurement, and take advantage of the 30-day trial. Ride it on the routes that have been causing you pain. Follow these steps to prevent saddle pain while cycling and you will be riding more miles with a lot less suffering.